Discovering water stains on your ceiling or wet spots in your attic can send any homeowner into panic mode. A leaking roof demands quick action to prevent further damage to your home’s structure. While some situations require professional help immediately, understanding how to patch a leak in the roof can save you from costly roof repairs and provide peace of mind during bad weather or after severe storms.
This step-by-step guide walks you through the roof leak repair process, from identifying the source of the leak to applying temporary fixes that protect your home until a professional roofer can provide permanent solutions.
How to Patch a Leak in the Roof: Step 1
Identifying the Source of Your Leaky Roof
The first step in addressing minor roof leaks is locating where water is actually entering your home. This isn’t always straightforward, as water can travel along rafters or the underside of the roof decking before dripping into your living space.
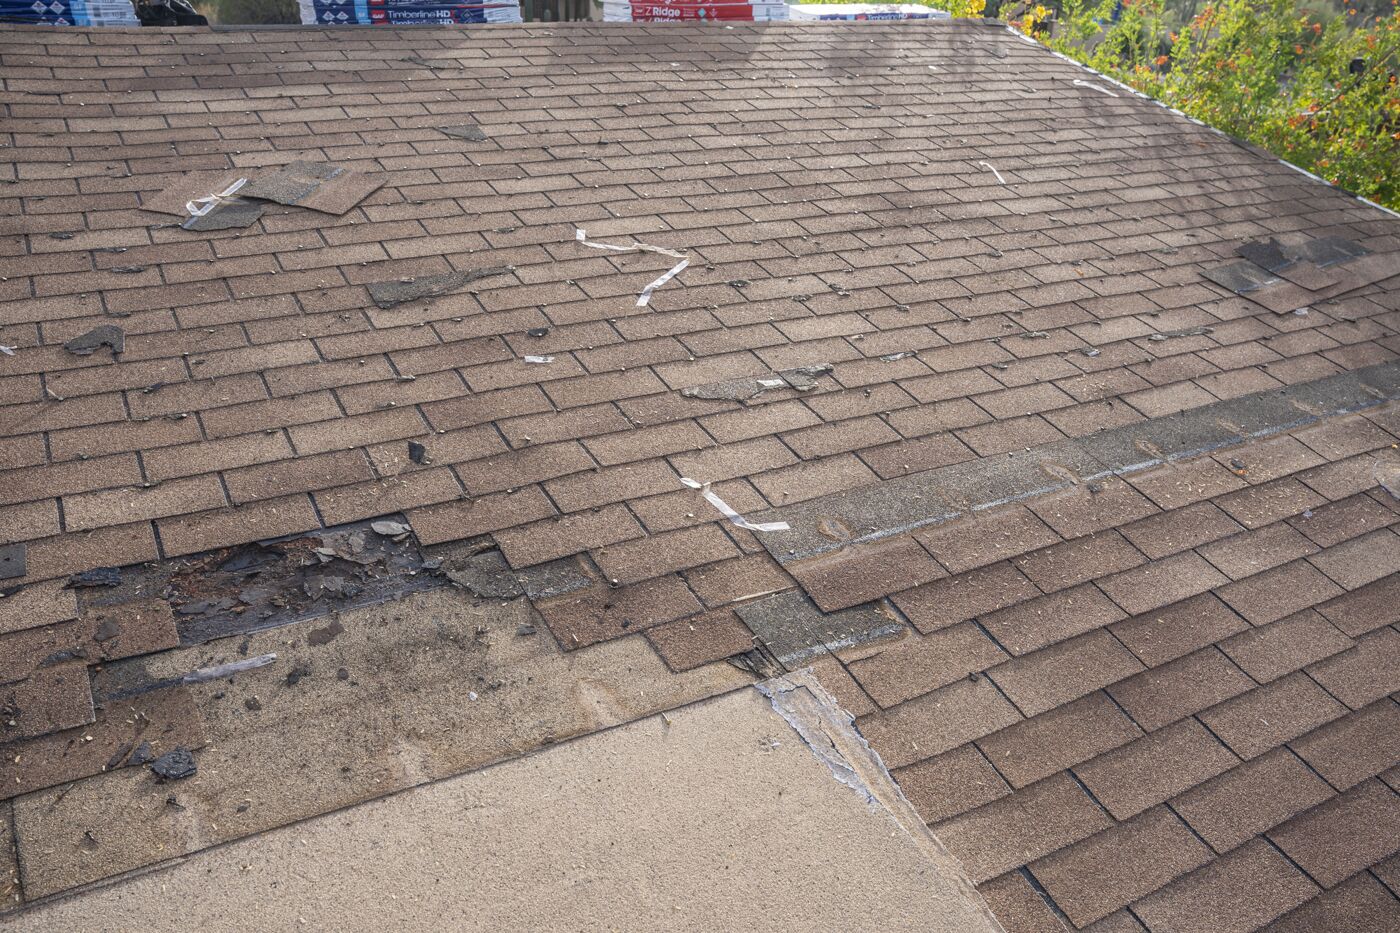
Start with a thorough roof inspection of your roof and attic during or immediately after heavy rain. Look for these signs of damage:
- Wet spots or water stains on the roof decking or insulation
- Mold growth or musty smells indicating moisture problems
- Daylight visible through cracks or holes in the roof
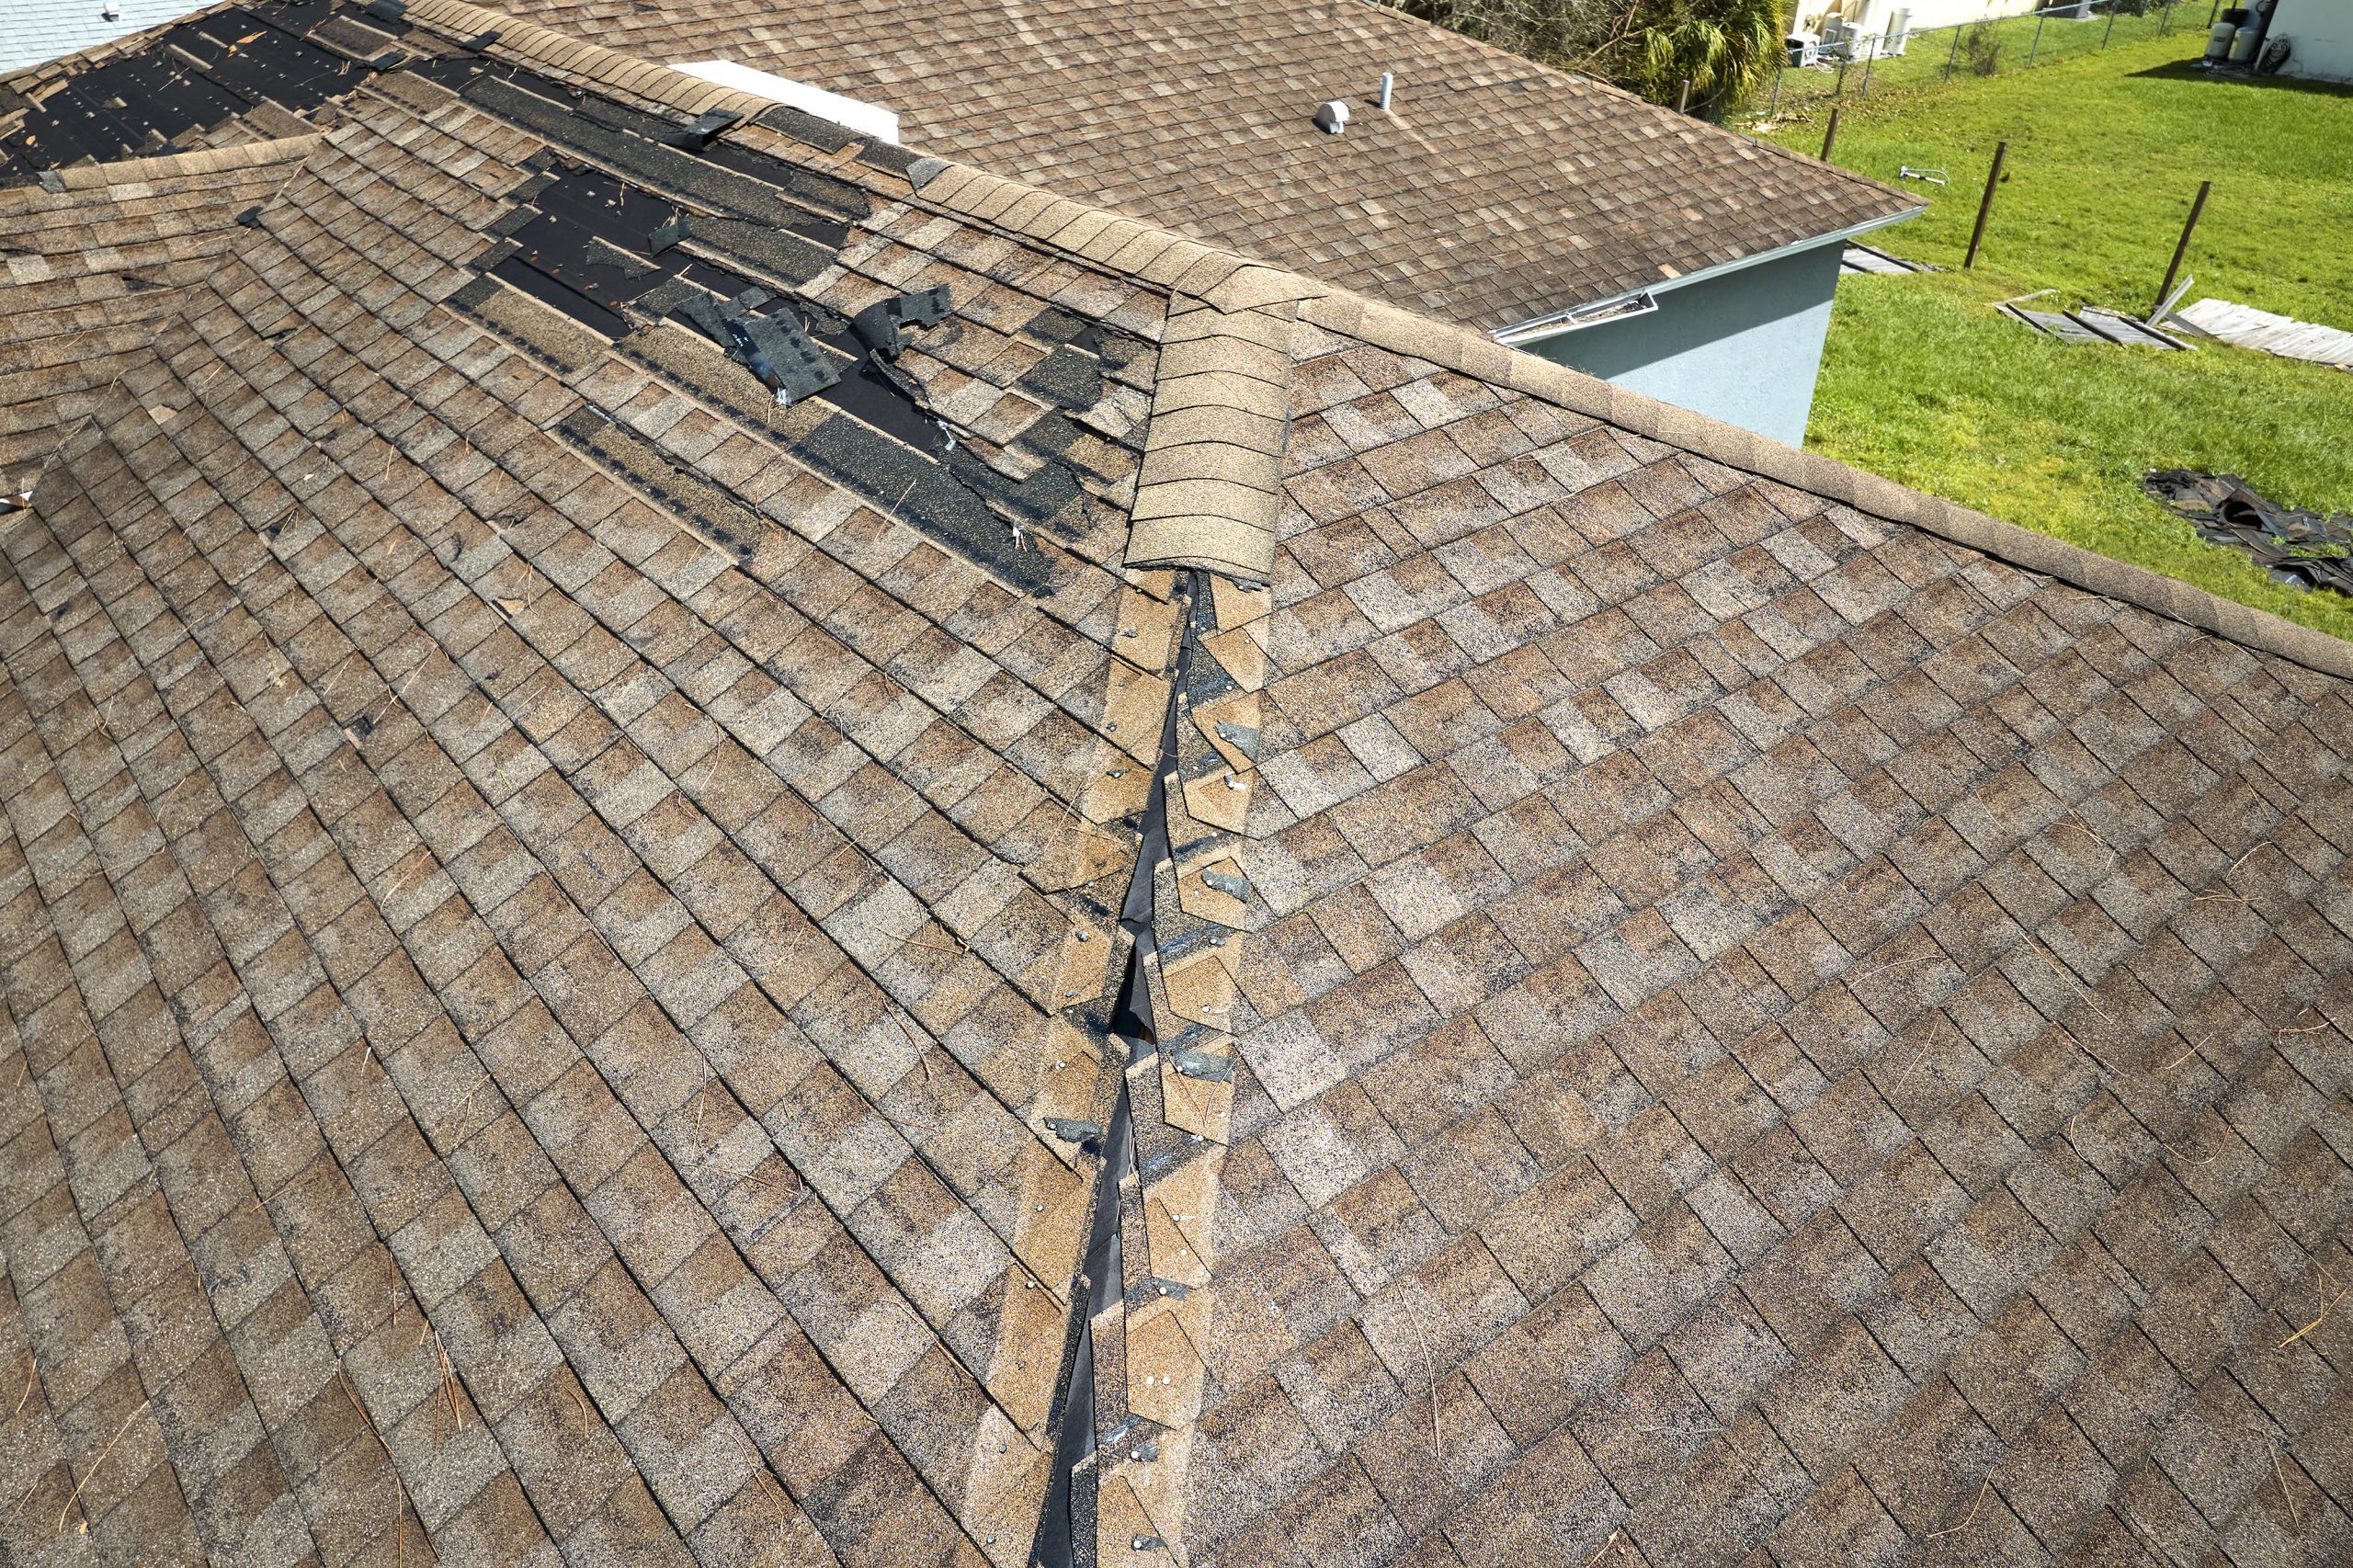
- Damaged or missing shingles visible from ground level
Common causes of roof damage in Bloomington include high winds, aging roofing material, and debris from nearby trees. The leak’s location often corresponds with vulnerable areas like roof vents, vent pipes, or where flashing meets the roofing surface.
How to Patch a Leak in the Roof: Step 2
Gathering the Right Tools and Materials
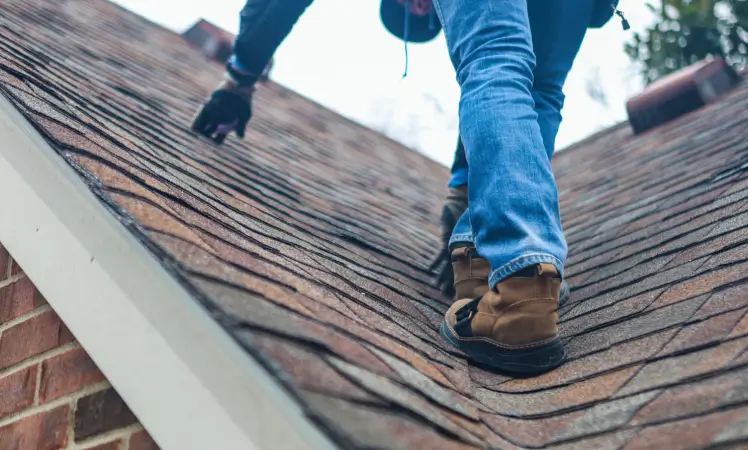
Before starting any DIY repairs, ensure you have the necessary materials and appropriate safety gear. Working on even a slightly steep roof requires proper precautions.
Essential tools include:
- Safety harness and safety goggles
- Ladder tall enough to reach your work area safely
- Utility knife for cutting roofing tape or replacement shingles
- Putty knife for applying roofing cement
- Pry bar for removing damaged shingles
- Caulk gun for precision application
- Wire brush for cleaning the affected area
- Garden hose (for testing repairs)
Materials you’ll need:
- Roofing cement or roof sealant appropriate for your roof types
- Roofing tape for quick patches
- New shingle or patching material matching your existing roof
- Roofing nails for securing replacement shingles
- New flashing if damaged
How to Patch a Leak in the Roof: Step 3
How to Patch a Leak in the Roof by Roofing Material
For small leaks or minor issues, these temporary repairs can prevent extensive water damage until professional inspection and permanent repairs can be scheduled.
- For Asphalt Shingles: If you’ve identified a damaged shingle causing the leak, carefully lift the surrounding shingles with a pry bar. Remove roofing nails from the damaged area, slide out the old shingle, and replace it with a new one. Secure with roofing nails and apply roofing cement under the edges to create a watertight seal.
- For Small Holes or Punctures: Clean the damaged area thoroughly with a wire brush, removing any loose debris or old roofing material. Apply roofing cement generously around small punctures, then cover with roofing tape or a patch of matching roofing material. Press firmly to ensure proper adhesion.
- For Metal Roofs: Small leaks in metal roofs often occur at seams or fasteners. Clean the area completely, then apply a bead of appropriate roof sealant. For larger gaps, use patching material designed specifically for metal roofing.
- For Flat Roofs or Rubber Roof Systems: Identify soft spots or weak spots in the rubber membrane. Clean and dry the affected area completely, then apply roofing cement and a rubber patch, smoothing out any air bubbles for a proper seal.
When DIY Roof Repair Isn’t Enough
While these temporary fixes can address minor roof leaks and prevent immediate structural damage, certain situations require a professional roofing contractor immediately:
- Extensive damage covering large sections of your roof
- Structural issues like sagging or compromised roof decking
- Multiple leak sources suggesting your old roof needs replacement
- Safety concerns on a steep roof or during bad weather
- Signs of long-term water damage indicating extensive water damage to your home’s structure
Professional help ensures that the extent of the damage is properly assessed and permanent solutions are implemented. A qualified roofing contractor in Bloomington has the expertise to identify underlying problems that might not be visible during a basic inspection.
Prevention Through Regular Inspections
The best approach to avoiding costly repairs is early detection through regular inspections. Schedule professional inspections at least twice yearly, especially after severe storms or high winds. Look for missing shingles, signs of damage around vent pipes and roof vents, and any weak spots that could lead to future leaks.
Remember, while DIY repairs can provide temporary relief for small roof leak situations, they’re not long term solutions for serious roofing problems. Quick action combined with professional expertise gives you the best protection for your entire roof and home’s structure.
Need Expert Roof Repair in Bloomington?
Urban Shield Roofing brings over 30 years of experience to every roof repair process. Our professional installers provide permanent solutions for all roof types, backed by our 10-year workmanship warranty and satisfaction guarantee. Whether you’re dealing with minor issues or major damage, we offer free estimates within 24 hours and 10% discounts for military, first responders, essential workers, and seniors. Don’t let a small leak become extensive damage; contact BBB Accredited Urban Shield Roofing today for your thorough inspection and peace of mind.
Related Articles